

15 Sep Garden Rose Arch
Allow yourself to be transported back two hundred years to the elegance and charm of Victorian England. Becoming popular during the reign of Queen Victoria, rose arches were a quintessential feature of an English garden. Their delicate styles are the perfect addition to any outdoor area. There are no set rules when it comes to choosing a garden rose arch. Here’re a few things you might want to consider.
Style
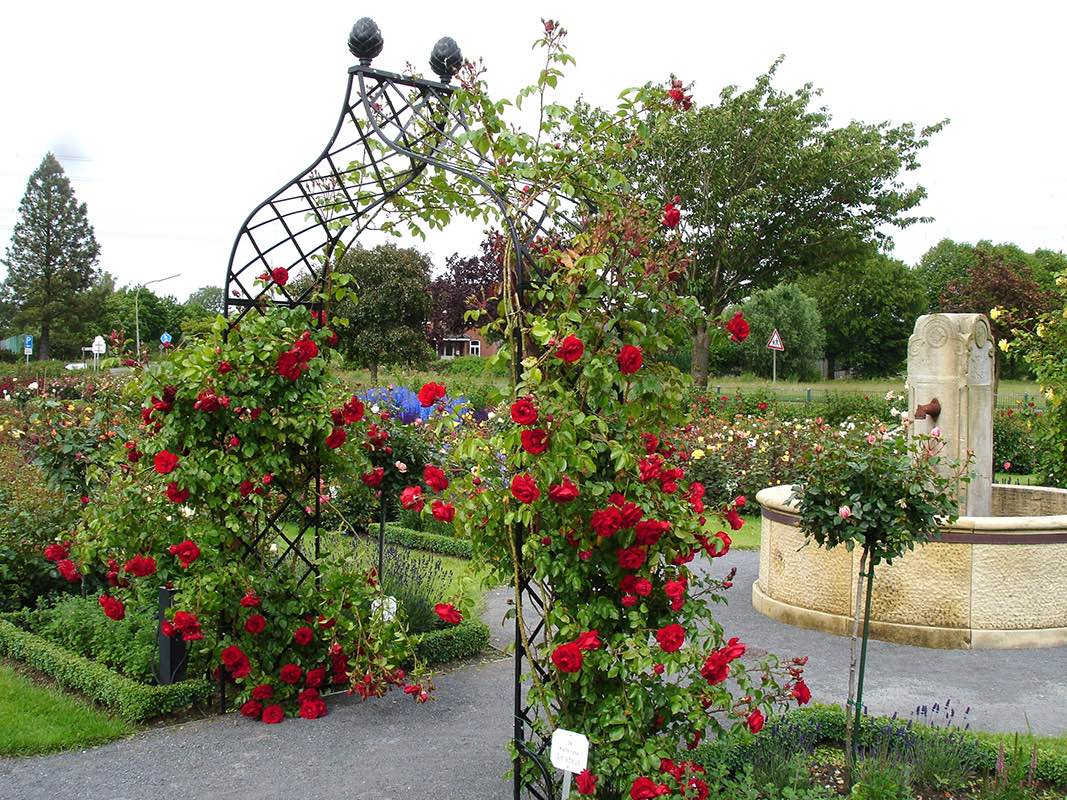
Garden rose arches come in many different designs. Modern arches usually have a minimalist design, keeping their style simple and effortless. Classic rose arches usually feature intricate designs, combining shapes and patterns to form delightful details. For an arch that emanates beauty, consider our Kiftsgate Victorian Rose Arch. If you’re looking for something more striking, our Brighton Victorian Rose Arch is the epitome of grandeur.
Size
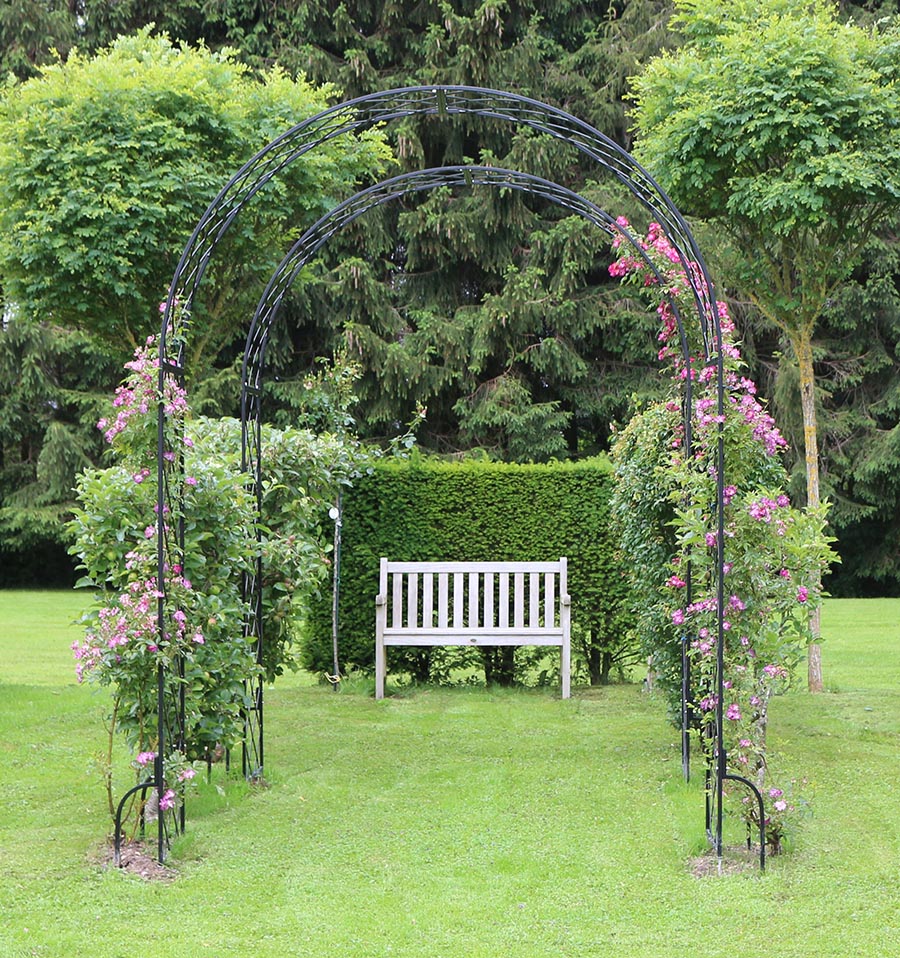
The size of your garden can be a helpful guide when choosing a rose arch. Smaller gardens will usually benefit from more delicate arches. It’s important to complement your garden with an arch, not overpower it. Sizeable gardens can be enhanced with a larger style of arch. A metal rose arch can be a great choice for adding a majestic characteristic to a large garden.
Material Garden Rose Arch
Garden rose arches are usually made of wood or metal. While wooden arches are generally cheaper to purchase than metal ones, they may not last as long. A wooden arch creates a wonderfully rural effect. It’s an eye-catching feature without dominating the landscape. For a truly magnificent piece, a metal arch is a fantastic choice. It’s strong, durable, and certainly a dazzling addition to any garden.
How To Make a Rose Arch?
A garden rose arch is designed so that roses can be trained to grow around it. Here’re a few simple steps for creating a charming rose arch.
Step 1: Purchase an Arch
Decide on a style of arch. As we’ve already mentioned, you’ll want to consider size and material.
Step 2: Decide a Location
A garden rose arch is perfect for standing at an entrance or framing a pathway. You can even opt to have multiple arches along a walkway, creating a tunnel of roses. Once you know where it’ll be placed in your garden, it can be installed by a professional.
Step 3: Prepare for Planting
Once the arch is installed, you’ll need to dig a hole at either end. Make sure the hole is larger than the pot your rose plants are in. You can then proceed to plant your roses.
Step 4: Train the Roses To Climb
As soon as you see stems beginning to appear, carefully secure them to your arch. You can get creative here and fix them to the arch in the way you want them to grow.
Step 5: Care
Roses generally need to be watered at least once a week. However, this’ll vary depending on the climate. Roses also need to be pruned when they’ve finished blooming. This’ll encourage them to flower again, ensuring your rose arch always looks vibrant throughout summer.