How Is a Garden Arch Assembled?

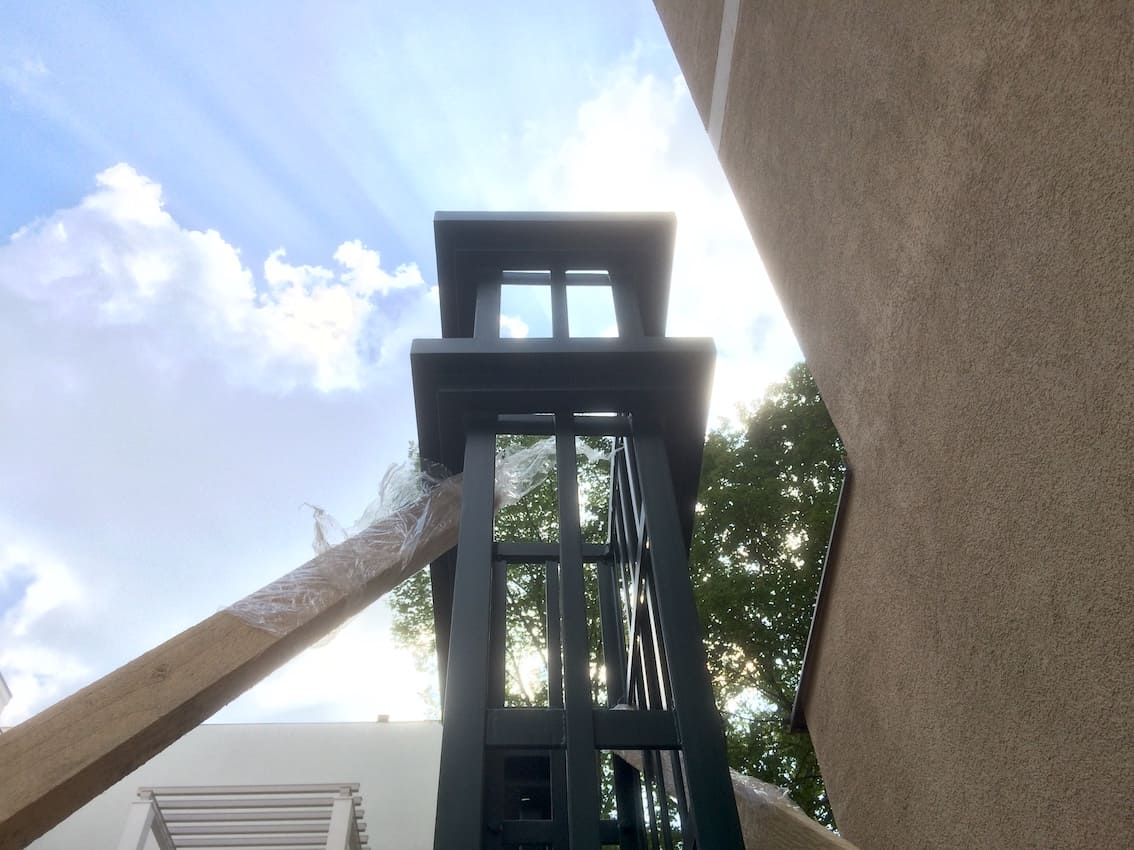
When our metal garden archways, gazebos and arbours leave our workshop to be delivered to you, they are as complete as possible. This is to ensure that our customers have to carry out minimal assembly and installation work when they receive their product. For us, it is also a mark of high-quality production. For most of our structures, all you’ll need to buy are screws to attach it to the ground or the wall. For this, we recommend using only stainless-steel screws. The assembly and installation of our smaller products, plant supports and garden obelisks can be easily carried out by any gardener. No specialist knowledge is necessary. Larger products, such as our garden arches, pergolas, arbours and garden trellises, can be assembled and installed by yourself or with professional assistance from a hard landscaper or other garden specialist.


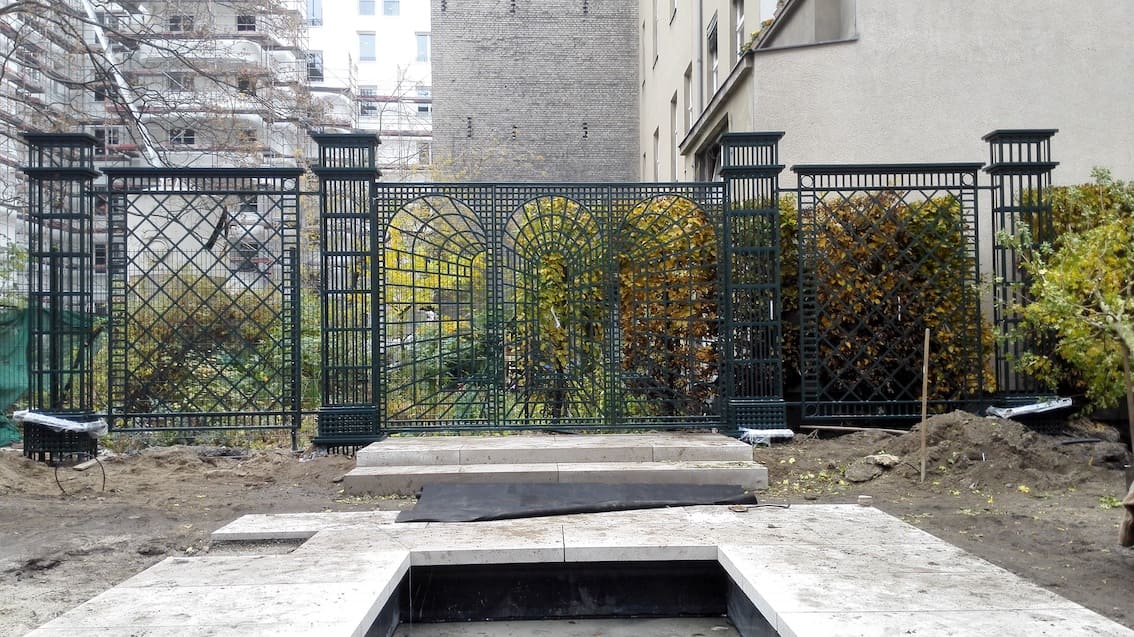
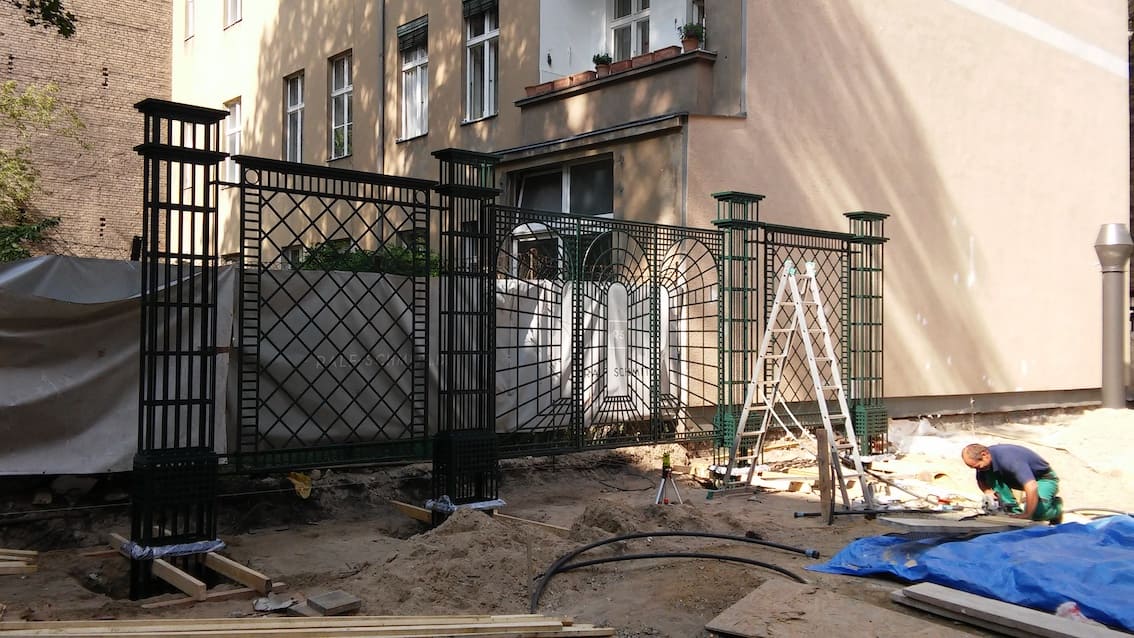
Classic Garden Elements Assembly and Installation Service

For larger projects, we also offer our own assembly and installation service. Our experienced assembly and installation team consists of the same specialists that make the products themselves. They have decades of experience in installing our garden structures. Classic Garden Elements puts a lot of time, specialist knowledge and care into every phase of the designing, manufacturing and installation process. This allows us to offer you not only a truly unique product, but also the best possible customer service.

Anchoring a Metal Garden Arch in Concrete

First things first: pick a spot for your garden arch. Next, dig two holes in the ground; each one needs to be around 100 cm deep. Fill the holes with around 20 cm of drainage material, such as gravel, so that the holes end up around 80 cm deep. Assemble the garden arch, including the ground anchors, whilst the structure is lying on the ground, and then position it into the holes. Use a spirit level and plumb line to ensure it’s vertical. Then you need to secure the garden arch so that it cannot move. You can use wooden supports or large stones to do this. As soon as the garden arch is secured and perfectly positioned, pour a high-quality, quick-setting concrete mix into both holes. Once you’ve poured it in, stir the concrete using a bar or wooden batten to ensure that no air bubbles form, and then smooth the surface. The concrete should end around three to five centimetres below the side trellises. As soon as the concrete has cured, you can remove the supports.


An alternative method is to anchor the garden arch using PVC pipes. The start of the process is the same as described above, but instead of placing the base of the arch directly into the holes, you first put at least two 80-cm-long pieces of PVC pipe in each hole – one for each ground anchor. The pipes should have a diameter of at least 20 to 30 cm – the bigger the better, really. Now position the garden arch, with ground anchors attached, into the PVC pipes. Align the structure using a spirit level or plumb line and secure it in place. As soon as it’s upright, correctly positioned and secured using wooden supports or large stones, pour a high-quality, quick-setting concrete mix into the pipes. The pipes act as the concrete formwork.

Installation einer Metall Treillage in Berlin

Preparing Concrete Foundations for Your Metal Garden Arch

There is one other completely different method that you could also use to secure your garden arch into the ground. This involves screwing the arch onto small, previously prepared concrete foundations. If you plan to secure your rose arch (or other large structure) in this way, we will prepare your product for you specially, by welding small metal base plates to the bottom of it. These metal base plates come with pre-drilled screw holes. The process works as follows. Before the garden arch is installed, small concrete foundations are prepared. Preparing these foundations involves digging holes at least 80 to 100 cm deep, so that they are frost proof. Each hole is then filled with very hard concrete. A few weeks later, when the concrete is dry and fully cured, the rose arch can be placed onto the concrete foundations. The small base plates that come welded to the rose arch are then screwed onto the concrete using fasteners and stainless-steel screws. There are two ways of doing this. The first option is to drill the hole, fill it with a special glue (such as one from the HILTI brand), insert a plastic fastener and screw in a stainless-steel screw. The second method is to drill the hole, insert a steel fastener designed especially for concrete and screw in a stainless-steel screw. The same approach can be used for trellises, half-round garden arches, pergolas, arbour seats, garden arches with gate or gazebos.


There are a few things to consider when doing this. Firstly, the size of the concrete foundations is dependent on the size of the structure. The larger the garden arch, pergola or arbour, and the windier its position, the deeper and wider the foundations need to be. That said, it is entirely adequate for the hole to be 80 to 100 cm deep. This is deep enough to be frost proof. Also be aware that, if you need more than one set of concrete foundations, they must be flush with one another. Later on, any difference in height caused by non-flush concrete foundations can only be corrected by using long screws.

Installation einer Metall Treillage in Berlin

How to Ensure the Foundations Are Frost Proof

This is an extremely important aspect that mustn’t be overlooked. Because of its concrete foundations, the ground below a garden arch, gazebo or other garden structure cannot drain well when it rains. When water freezes, it expands – and the force of this can lift or break the concrete foundations. In the United Kingdom, foundations are frost proof if they are around 80 to 100 cm below ground. Underneath the concrete you can also add in a drainage or drying layer, made from gravel or grit (with a grain size of 16–32 mm). A 20-cm layer should suffice and will allow the water to drain better.


Installation Methods to Avoid

Our garden archways are high-end and heavy and will most likely last a lifetime. Once they are covered in flowers and plants, it is extremely difficult to change anything about their foundations – so it is important to get it right first time. Often, people recommend using galvanised metal anchors that can be hammered directly into the ground. These 40-cm long anchors do ensure that the rose arch is secure. However, over time and faced with the weight of the roses, the wind and the moisture in the ground, the garden arch will start to tilt. Even if you use a lot of these ground anchors for every garden arch or arbour, you are likely choosing ease of installation over long-term stability – especially in windy spots. This is why we always recommend that you choose to screw the structure onto concrete foundations. Doing so does not actually require as much specialist knowledge as you might think. Two people working together should be able to install a pergola or gazebo so that it is secure and stable. That said, depending on your DIY skills and confidence, it could also be worthwhile getting a hard landscaper to do this for you, to ensure a stress-free installation process and maximum enjoyment of your new garden arch!

Installation einer Metall Treillage in Berlin

Some Final Tips: Garden Arches That Do Not Require Installation

If you’re dreaming of a garden arch in a spot where you can’t secure the structure into the ground, such as in a rooftop garden or in a garden or patio located on top of an underground garage, then don’t fear – we have a solution for that, too! In this case, your best bet would be to go for one of our freestanding garden arches. These arches, flanked on either side by a metal planter, are highly stable despite the lack of ground anchoring, thanks to the added weight of the two garden planters.


Garden Archways That Require Especially Secure Installation

If you choose one of our latest creations – a garden arch with a single or double gate – it is especially important that it has secure concrete foundations. This is because the action of opening and closing the gate requires more stability than simple ground anchors can deliver. Do you have any questions about assembling or installing our garden products? Is there anything that is still unclear? If so, please get in touch. We’d be happy to help in any way we can.